Stepping outside without a phone app can feel like leaving your safety net behind. In a world where maps, compasses, and even weather updates are now in our pockets, the idea of navigating the outdoors without apps may seem old-fashioned—or even risky.
Yet, many outdoor enthusiasts find that moving beyond their devices brings a deeper sense of confidence, connection, and adventure. Whether you are hiking, camping, fishing, or simply exploring, knowing how to navigate with traditional methods is a valuable skill. It can save your life in an emergency, help you understand your environment better, and give you a sense of accomplishment that no app can provide.
In this guide, we’ll look at how you can confidently navigate the outdoors without apps. From reading the land and using the sun as your compass, to interpreting paper maps and understanding weather changes, you’ll learn practical techniques that have guided people for centuries. You’ll also discover the hidden benefits of unplugging, and get clear answers to common questions. Let’s step away from the screen and see how you can truly find your way—by skill, not software.
Why Learn To Navigate Without Apps?
The convenience of GPS and mapping apps is undeniable. But there are solid reasons to learn traditional outdoor navigation skills:
- Battery and signal failures: Devices can run out of power or lose signal, especially in remote areas.
- Personal safety: In emergencies, knowing your location without a device can be crucial.
- Deeper connection: You become more aware of your surroundings and natural clues.
- Skill development: Navigating without technology builds confidence and independence.
- Backup plan: Even if you prefer digital tools, having a backup skill is always wise.
These reasons are not just for extreme adventurers. Even a short hike or camping trip can go wrong if technology fails. With basic navigation skills, you’re prepared for anything.
Understanding The Basics Of Non-digital Navigation
Before you head out, it helps to understand what makes traditional navigation work. The main elements include:
- Direction finding: Using the sun, stars, or landmarks to orient yourself.
- Distance estimation: Judging how far you have traveled.
- Map reading: Understanding topographic or trail maps.
- Route planning: Deciding your path before you leave.
- Staying aware: Paying attention to your environment and remembering key features.
These skills take practice, but anyone can learn them. Let’s break down each technique, starting with the most basic: knowing where you are and where you’re going.
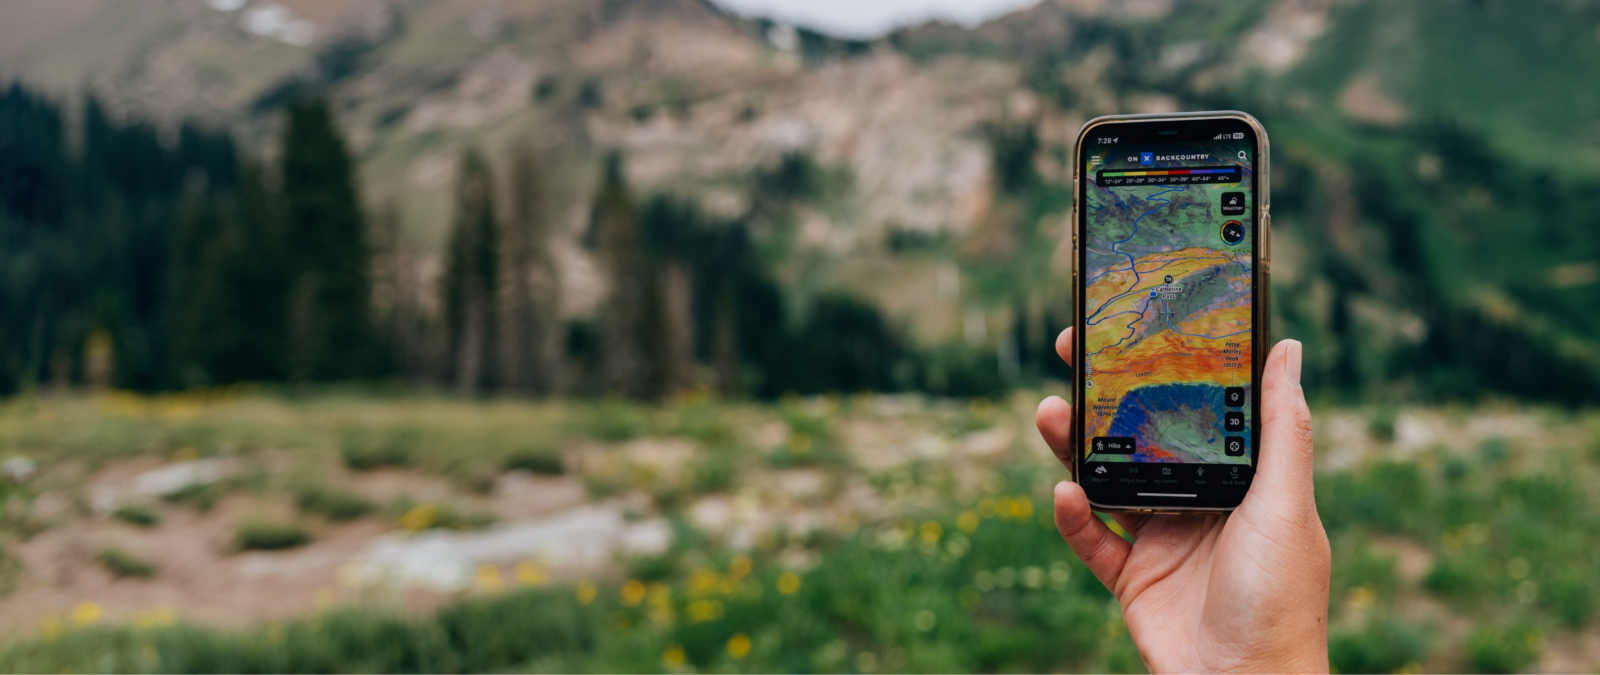
Credit: www.onxmaps.com
Reading The Landscape
Nature provides many clues to help you find your way. Learning to read the landscape is a key outdoor skill.
Using Landmarks
Look for distinctive features—mountains, rivers, cliffs, or large trees. These can be used as reference points.
- Choose visible landmarks: Pick features that are unique and visible from a distance.
- Check your position often: As you move, turn around and memorize the view behind you. This helps you recognize the way back.
- Draw a simple sketch: Mark major features and your route as you go.
Observing Terrain
The shape of the land can guide you. Valleys often follow rivers, while ridges can help you stay on high ground.
- Follow natural lines: Rivers, ridges, and valleys often lead to trails or roads.
- Notice slope and elevation: Moving uphill or downhill can tell you about your general direction.
Interpreting Vegetation
Plants can give hints about water sources or direction.
- Lush greenery: Often means water is nearby.
- Tree growth: In many places, moss grows more on the north side of trees (in the Northern Hemisphere), but check for local exceptions.
Non-obvious insight: Memorizing the view behind you at each turn is as important as watching the path ahead. Many people get lost because the path looks different on the return trip.
Mastering Map And Compass Skills
A paper map and compass remain the gold standard for outdoor navigation.
Choosing The Right Map
- Topographic maps show elevation, terrain, and important features.
- Trail maps focus on marked paths and landmarks.
Always choose a detailed, up-to-date map for your area. Waterproof or laminated versions last longer in the field.
Understanding Map Symbols
Maps use symbols for mountains, rivers, roads, and more. Learn the legend before you go. Here’s a quick reference for common map symbols:
| Symbol | Meaning |
|---|---|
| ▲ | Peak/Mountain |
| ~ | River or Stream |
| • | Campground |
| || | Trail |
| — — — | Road |
Tip: Before your trip, review the map’s legend and mark your planned route.
Using A Compass
A compass shows direction (North, South, East, West) and helps you orient your map. Here’s how to use it:
- Hold the compass flat and let the needle settle.
- Turn the dial so that North (N) lines up with the needle.
- Point the direction-of-travel arrow where you want to go.
- Match your map and compass: Place the compass edge along your intended path on the map, then turn both map and compass until the needle and North align.
Taking A Bearing
A bearing is the angle between your current location and your destination, measured in degrees.
- Set your direction: Aim the compass at your target.
- Read the degree: The number where the needle points is your bearing.
- Follow your bearing: Keep the compass pointed in the same direction as you move.
Non-obvious insight: Practice using your compass at home or in a local park before you head into remote areas. Many people struggle with compass use under stress.
Estimating Distance On A Map
Most maps have a scale (for example, 1 inch = 1 mile). Use a piece of string to measure winding trails, then compare to the scale for an accurate estimate.
Navigating With The Sun And Stars
Nature’s oldest navigation tools are still reliable today.
Using The Sun
- Rises in the east, sets in the west: This gives a rough sense of direction.
- At noon, the sun is generally due south in the Northern Hemisphere.
- Shadow stick method: Place a stick in the ground; the shadow points west in the morning and east in the afternoon.
Creating A Simple Compass
You can make a basic compass with a stick and the sun:
- Place a stick upright in the ground.
- Mark the tip of the shadow with a small rock (Point A).
- Wait 15-20 minutes; mark the new tip (Point B).
- Draw a line from A to B—this is the east-west line.
- Stand with A (west) on your left and B (east) on your right; you’re now facing north.
Navigating By The Stars
At night, the North Star (Polaris) helps you find north in the Northern Hemisphere.
- Find the Big Dipper: The two stars at the end of the “bowl” point to Polaris.
- Southern Hemisphere: Use the Southern Cross constellation to find south.
Practical tip: The North Star stays in the same place all night, so you can check your direction as you travel.
Following Trails Without Technology
Most hiking and walking trails have markers, signs, or natural clues.
Trail Markers
- Paint blazes: Colored marks on trees or rocks.
- Cairns: Stacks of stones, often on open ground.
- Signs: At trailheads or intersections.
Each area uses different systems, so check ahead.
Interpreting Trail Markers
Here’s a quick look at common trail blaze meanings:
| Blaze Pattern | Meaning |
|---|---|
| Single rectangle | Stay on trail |
| Two rectangles, one above the other | Trail turn (direction indicated by offset) |
| Double rectangle, side by side | Trail junction or start |
Staying On Track
- Look for markers regularly: If you don’t see one after 10–15 minutes, check your map.
- Mark your route: If allowed, use small biodegradable markers to help remember tricky turns.
Common mistake: Relying only on trail markers. Always back up with map reading, as markers can be missing or confusing.
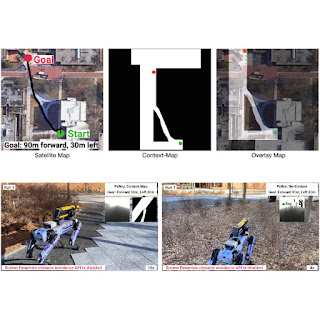
Credit: research.google
Estimating Time And Distance
Knowing how far you’ve gone is crucial for safe navigation.
Using Pacing
- Average adult step: About 2.5 feet (0.76 meters).
- 1000 steps: Roughly half a mile (0.8 kilometers).
Count your steps between landmarks to estimate distance.
Timing Your Hike
- Naismith’s Rule: Allow 1 hour for every 3 miles (5 km) of flat terrain, plus 1 extra hour for every 2000 feet (600 meters) of ascent.
- Adjust for conditions: Add time for rough ground, heavy packs, or weather.
Estimating Arrival
Use your pace and time to check if you’re on schedule. If you fall behind, consider turning back early.
Navigating In Poor Weather Or Low Visibility
Fog, rain, or snow can make navigation much harder.
Techniques For Poor Visibility
- Stay close to your group: Don’t wander off.
- Use a whistle: Agree on signals before you start.
- Follow a handrail: Rivers, fences, or ridges can guide you even when you can’t see far.
Emergency Actions
- Stop and assess: If lost, don’t keep moving blindly.
- Mark your location: Make a large X with sticks or rocks for visibility.
- Blow your whistle: Three short blasts is a universal distress signal.
Practical example: In thick fog, move slowly and check your map and compass every few steps. Many search and rescue incidents happen because people panic and walk in circles.
Reading Natural Signs
Nature offers clues to help you orient yourself.
Animal Trails
Deer, elk, or other animals often make trails through the woods. These can lead to water but may not be safe for humans.
- Follow with caution: Animal trails can be confusing and often don’t go where you want.
Water Flow
- Rivers and streams usually flow downhill and may lead to roads or settlements.
- Listen for water: In quiet areas, the sound of running water can help you find direction.
Wind And Weather
- Prevailing winds: In many regions, winds come from a common direction. Learn what’s typical for your area.
- Cloud movement: Watch how clouds move to estimate direction.
Preparing For Outdoor Navigation
Preparation is your best tool for safe and enjoyable navigation.
Plan Your Route
- Study maps before you go.
- Share your plan: Tell someone where you’re going and when you’ll return.
- Mark checkpoints: Identify places to check your progress.
Pack The Right Gear
- Map and compass: The basics for any trip.
- Whistle: For emergency signaling.
- Pencil and notepad: For sketches or notes.
- Watch: To keep track of time.
- Headlamp: If you may be out after dark.
Backup Items
- Extra batteries: For headlamps (not for phone navigation).
- Emergency blanket: In case you get lost overnight.
- Snacks and water: Enough for unexpected delays.
Practice
- Test your skills in a local park or familiar area before tackling remote terrain.
- Try different weather: Practice in rain or low light to build confidence.
Comparing Digital And Non-digital Navigation
It’s useful to see how traditional methods stack up against app-based navigation.
| Feature | App-Based | Traditional |
|---|---|---|
| Battery/Solar Power Needed | Yes | No |
| Works Without Signal | Sometimes (with offline maps) | Always |
| Learning Curve | Low | Moderate |
| Failure Points | Software, battery, hardware | Human error, map/compass damage |
| Situational Awareness | Can reduce | Increases |
Real-world example: In 2021, a study by the US National Park Service found that over 20% of lost hiker incidents involved phone battery failure or lack of signal. Traditional navigation remains essential.
The Mental Side Of Navigation
Navigating without apps isn’t just about tools—it’s about mindset.
Staying Calm
If you get lost, panic is your worst enemy. Stop, breathe, and assess your situation. Use your skills step by step.
Paying Attention
Stay alert to your surroundings. Notice the weather, terrain, and any changes. Make a habit of looking back to memorize the way you came.
Building Confidence
Start with short trips and build up. Each successful journey increases your confidence and skill.
Non-obvious insight: People often get lost not because they make a single mistake, but because they don’t notice small errors adding up. Regular checks and awareness prevent this.
Learning From Experience
Every trip is a chance to improve your navigation. After each outing:
- Review what worked and what didn’t.
- Practice with friends: Test each other by navigating new routes.
- Keep a log: Note any confusing spots or new techniques.
Over time, you’ll develop a personal system that works for you.
The Joy Of Unplugged Exploration
Many people find that leaving technology behind changes the way they experience nature.
- Deeper presence: Without distractions, you notice more details.
- Sense of achievement: Finding your way by skill feels rewarding.
- Stronger memories: Engaging your senses makes experiences last.
Example: Outdoor schools and youth groups often teach navigation as a key life skill. Participants say that their favorite memories are often from trips where they relied on their own abilities, not a screen.
Safety Tips For Navigating Without Apps
While traditional navigation is reliable, safety comes first.
- Never go alone in remote areas unless you are experienced.
- Check the weather forecast before you leave.
- Carry enough supplies for unexpected delays.
- Have a way to signal for help—whistle, mirror, or even a flashlight.
- Know when to turn back. If you’re unsure, play it safe.
When To Use Technology
Even if you prefer traditional methods, technology has its place.
- Emergency locator beacons can signal for help even without phone coverage.
- Offline maps are a good backup.
- Weather alerts can warn of sudden changes.
The best navigators use all available tools and know their limits.
For more in-depth information on navigation techniques, the National Geographic Guide to Reading Topo Maps is an excellent resource.

Credit: www.wired.com
Frequently Asked Questions
How Do I Practice Navigation Skills Before My Trip?
Start in a local park or neighborhood with a printed map. Practice finding your location, planning a route, and following landmarks. Try navigating with a compass or by using the sun. Gradually increase the difficulty by exploring unfamiliar areas.
What Should I Do If I Get Lost Without A Phone Or Gps?
Stop and stay calm. Retrace your steps to the last known point. Use your map and compass or look for familiar landmarks. If you can’t find your way, stay in one place and use a whistle or signals to attract help.
Is Navigating Without Technology Safe For Beginners?
Yes, if you prepare well. Start with short, easy trips and learn the basics. Always let someone know your plans and carry safety gear. Practice in familiar areas before going into remote or challenging terrain.
How Can I Estimate Direction If The Sky Is Overcast?
Use your map and compass as the main tools. If you can’t see the sun or stars, rely on terrain features, water flow, and wind patterns. Pay close attention to your surroundings and check your position often.
What Are The Best Resources To Learn More About Traditional Navigation?
Books like “Be Expert with Map and Compass” by Bjorn Kjellstrom and websites such as National Geographic offer clear guides and tips. Many outdoor clubs also offer hands-on courses.
Stepping into the outdoors without apps isn’t about turning your back on technology—it’s about building skills that help you enjoy nature with confidence. Every journey is a chance to learn and grow. With practice, you’ll find that reading a map, following the sun, and noticing the world around you can be just as rewarding as any high-tech tool.