Building a tent pad can make camping more comfortable and protect your tent from water, rocks, and uneven ground. Whether you are setting up a permanent camping spot or just want a flat, dry place for your tent on your next trip, making a tent pad is a smart move.
Many campers overlook this task, but it can greatly improve your outdoor experience. Let’s explore how to build a tent pad step by step, what materials you’ll need, and a few tips to avoid common mistakes.
Why Build A Tent Pad?
A tent pad is a flat, raised area designed to fit your tent. It keeps water away when it rains, provides a soft surface, and protects your tent floor from sharp objects. A good tent pad can even help your tent last longer.
Some campgrounds already have tent pads, but if you’re camping on your own land or in the backcountry, you may need to build one yourself. Taking the time to do this right means fewer worries about wet gear or uncomfortable nights.
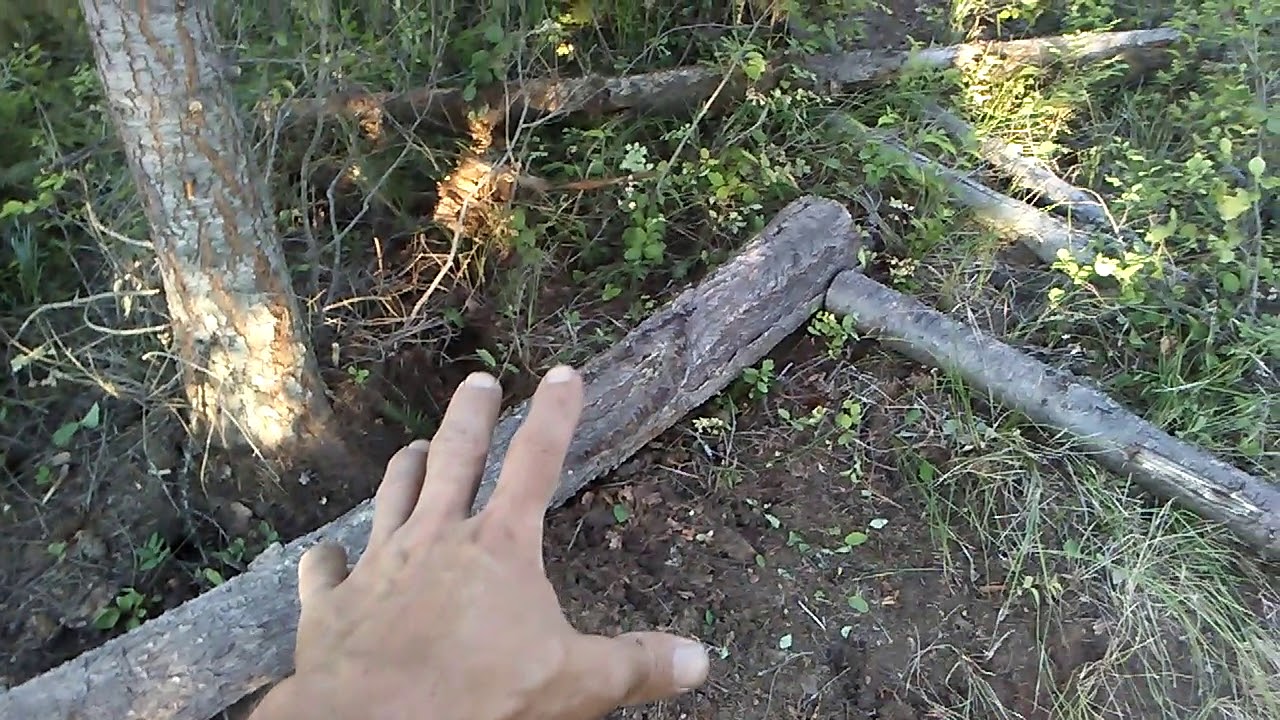
Choosing The Best Spot
Location is everything. Picking the wrong spot can make all your hard work useless.
- Look for high ground. Water flows downhill, so choose a spot that’s higher than the area around it.
- Check for drainage. Avoid places where water collects after rain.
- Stay clear of tree roots and large rocks. These can damage your tent and make sleeping uncomfortable.
- Consider the sun and wind. If possible, find a spot with some shade and protection from strong wind.
A common beginner mistake is choosing a flat spot that looks good but is actually a low point where water collects. Always check the ground after rain if possible.
Credit: www.youtube.com
Materials And Tools You Need
You don’t need expensive gear, but using the right materials makes your tent pad last longer.
- Shovel (or camp spade for small jobs)
- Rake (to level and remove debris)
- Measuring tape (for accurate sizing)
- Wooden stakes and string (to mark the pad’s shape)
- Landscape fabric (helps stop weeds and mud)
- Gravel or sand (for drainage and comfort)
- Pressure-treated lumber (for the frame, usually 4×4 or 6×6 beams)
- Hammer and nails/screws (to join the frame)
- Level (to check the surface)
Buying too little gravel is a common error. For a standard two-person tent, you’ll need about 1 cubic yard of gravel for a 4-inch deep pad.
Step-by-step: Building Your Tent Pad
Let’s break down the process into clear steps.
1. Mark The Area
Use your measuring tape to outline the pad. Make it about 2 feet larger than your tent on every side. For example, if your tent is 8×8 feet, make the pad at least 12×12 feet.
Drive wooden stakes into the corners and run string between them to mark the shape.
2. Clear The Ground
Remove all grass, rocks, and roots from inside the marked area. Dig down about 4 to 6 inches. This depth helps hold the gravel and keeps your tent off the wet ground.
3. Level The Surface
Use your rake and shovel to smooth the ground. Check with a level. A flat, even base is key for comfort and drainage.
4. Build The Frame
Place your pressure-treated beams around the edges of the cleared area. Join the corners with nails or screws. The frame keeps the gravel in place.
For extra stability, bury the beams about 1-2 inches into the ground.
5. Install Landscape Fabric
Roll out landscape fabric over the cleared area, inside the frame. This stops weeds from growing up into your pad and keeps the gravel from mixing with the soil.
6. Add Gravel Or Sand
Pour in your gravel or sand to fill the frame. Spread it evenly to a depth of about 4 inches. Use your rake to level it out. For best results, use pea gravel or crushed stone.
7. Compact The Pad
Walk back and forth on the surface, or use a hand tamper if you have one. Compacting the gravel makes the pad firm and prevents uneven spots.
Let’s compare two popular fill materials:
| Material | Comfort | Drainage | Cost |
|---|---|---|---|
| Gravel (pea or crushed) | Good | Excellent | Medium |
| Sand | Very Good | Good | Low |
8. Check And Adjust
Place your tent on the pad and check for any uneven spots. Add or remove gravel as needed.

Credit: www.greenbelly.co
Practical Tips For A Great Tent Pad
- Slope the surface slightly (about 1 inch drop per 4 feet) to help rainwater run off.
- Keep the pad clean by raking off leaves and sticks before each use.
- Don’t build too close to water sources—at least 200 feet away is best for safety and the environment.
- When camping for a short time, a simple groundsheet can also help, but nothing beats a well-built pad.
Here’s a size guide for common tent sizes:
| Tent Size (People) | Typical Tent Size (ft) | Recommended Pad Size (ft) |
|---|---|---|
| 2 | 7 x 5 | 10 x 8 |
| 4 | 9 x 7 | 12 x 10 |
| 6 | 10 x 10 | 14 x 12 |
Common Mistakes And How To Avoid Them
Many campers make small errors that lead to big problems. Watch out for these:
- Building in a low spot. Always pick high ground.
- Not enough fill material. Too little gravel means a muddy, uneven surface.
- Skipping the landscape fabric. Weeds and mud will ruin your efforts.
- Forgetting to compact the pad. Loose gravel shifts and is uncomfortable.
- Frame not secured. Beams can move if not properly buried or joined.
Long-term Maintenance
A tent pad needs only basic care. Rake the surface before camping to remove debris. After heavy rain, check for erosion or pooled water. Every few years, add more gravel if the pad surface gets thin.
If you’re building a pad for long-term use, consider using rot-resistant wood or stone for the frame. This costs more but lasts much longer.
For more information on campsite design and environmental impact, visit the National Park Service.
Frequently Asked Questions
How Deep Should A Tent Pad Be?
A good tent pad is usually 4 to 6 inches deep. This gives enough space for gravel or sand to provide comfort and keep water away from your tent.
Can I Use Just Dirt For A Tent Pad?
You can, but dirt alone does not drain well and may turn to mud in the rain. It’s better to use gravel or sand, and always add landscape fabric to prevent weeds.
What Size Should My Tent Pad Be?
Make your pad at least 2 feet larger than your tent on every side. This gives room for gear and keeps your tent away from muddy edges.
Do I Need A Frame For The Tent Pad?
A frame is not required for short-term use, but it holds the fill material in place and keeps the pad from spreading out over time. For long-term or permanent pads, a frame is highly recommended.
How Do I Keep Water From Pooling On My Tent Pad?
Always build on high ground and slope the pad surface slightly so water can run off. Using gravel or sand helps water drain away from your tent.
Taking time to build a good tent pad means more comfort, less worry, and better camping memories. With the right steps and materials, your tent will stay dry and stable, ready for any adventure.

Credit: permies.com