A sleepover is always more fun when you add a little adventure. One way to make a sleepover extra special is by building your own sleepover tent. This creative project doesn’t just give kids a cozy place to sleep—it sparks imagination, creates privacy, and turns any living room into a magical campsite. If you want to make a sleepover tent at home, you don’t need expensive equipment or advanced skills. With a few everyday materials and some simple steps, you can set up a tent that will wow your guests and create memories that last.
Why Build A Sleepover Tent?
A homemade sleepover tent feels different from just laying out mattresses. It gives a sense of privacy and excitement. Kids love to have their own mini “house” to play, read, and relax in. Sleepover tents also encourage creativity, teamwork, and responsibility as children help set up and decorate their own spaces.
Most importantly, a tent makes the sleepover feel like a special event. Even adults often remember these childhood experiences years later. According to a survey by the Sleep Council, over 70% of people say their most vivid sleepover memories include building forts or tents with friends.
Materials You Will Need
Before you start, gather your supplies. You don’t have to buy new items—most can be found around your home. Here’s a basic list:
- Bedsheets or large blankets (lightweight and clean)
- Chairs, broomsticks, or PVC pipes (for the frame)
- Clothespins or binder clips (to secure fabric)
- String or rope
- Fairy lights or lanterns (battery-powered for safety)
- Pillows, sleeping bags, or air mattresses
- Decorations (banners, plush toys, paper lanterns)
- Books, board games, or snacks (optional, for fun)
You can adjust this list based on the age of the kids, space, and what you already own.

Credit: www.craftylifemom.com
Choosing The Right Spot
Where you build the tent matters. Here are some things to consider:
- Space: Make sure there’s enough room for the tent, kids, and some play area.
- Flooring: Soft surfaces like rugs or carpets are best. If not, lay down mats or extra blankets.
- Safety: Keep away from sharp furniture corners, electrical outlets, or breakable items.
- Lighting: Pick a spot with easy access to natural or lamp light, but avoid direct sun that could overheat the tent.
A living room, playroom, or even a covered porch can work well.
Step-by-step: How To Build A Sleepover Tent
There are many ways to build a tent. Here’s a simple method that works for most homes.
1. Create The Frame
You need a strong frame so the tent stands up by itself.
- Place two sturdy chairs facing each other, about 4–5 feet apart.
- Lay a broomstick, mop handle, or long PVC pipe across the top of the chairs to create a ridgepole.
- Tie or tape the stick to the chair backs to hold it steady.
If you don’t have chairs, you can make a frame with four tall objects (like stacks of books, boxes, or stools) and lay sticks or pipes between them.
2. Drape The Fabric
- Spread a large bedsheet or blanket over the frame so it hangs down on both sides.
- Adjust the sheet so it touches the floor evenly.
- Secure the fabric at the top using clothespins or binder clips. Tuck the ends under pillows or heavy books to keep the sides in place.
If you want an entrance, fold back one corner or pin up part of the sheet.
3. Make It Cozy
- Spread out soft blankets or sleeping bags inside.
- Add plenty of pillows for comfort.
- Place a small battery lantern or string of fairy lights inside for a warm glow.
- Set up a tray with snacks or drinks nearby (but not inside the tent to avoid spills).
4. Add Decorations
Let kids personalize their tent. Ideas include:
- Hanging paper lanterns or bunting from the ridgepole
- Adding plush toys or favorite stuffed animals
- Drawing signs with names for each “tent”
- Using glow-in-the-dark stickers for a magical effect
5. Safety Check
Before kids get inside, quickly check:
- Nothing heavy or sharp is above or inside the tent
- Lights are battery-powered (not plugged in)
- Fabric is not near any heat sources
Even adults sometimes forget this last step, but it’s important for peace of mind.

Credit: www.youtube.com
Sleepover Tent Styles
You can make different types of tents, depending on your space and what you have available. Here’s a quick comparison of common sleepover tent styles:
| Style | Best For | Materials Needed | Setup Time |
|---|---|---|---|
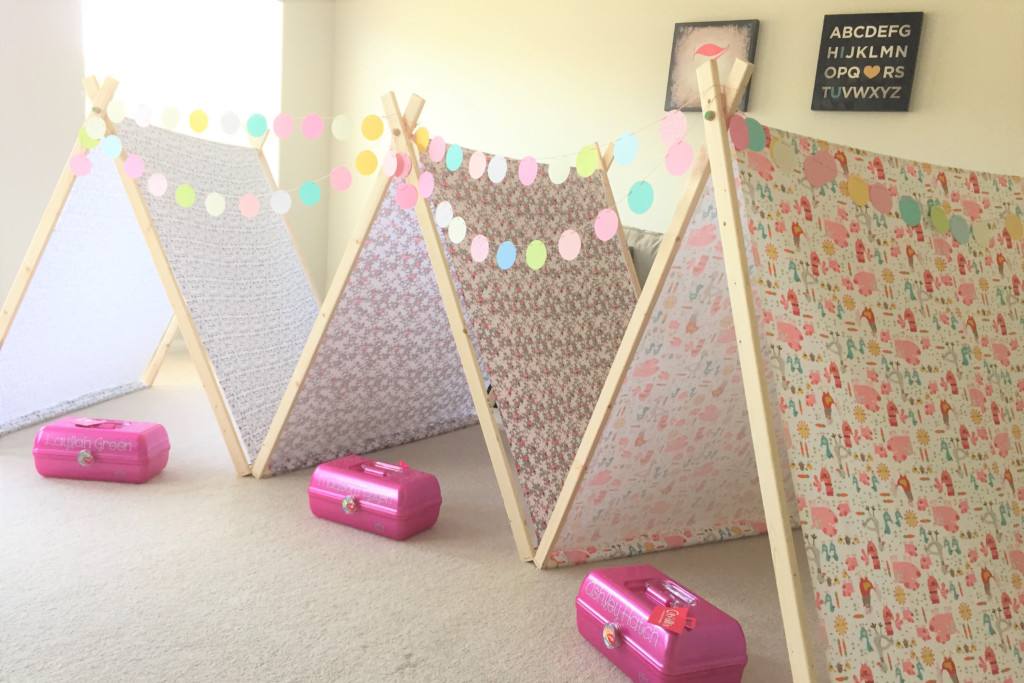
| A-frame | Small spaces | Chairs, stick, sheets | 15-20 min |
| Tepee | Large group | PVC pipes, rope, sheets | 30 min |
| Classic Fort | Quick setup | Sofas, tables, blankets | 10 min |
Each style offers a different experience. The A-frame tent is easiest for beginners, while a tepee looks impressive and fits more kids.
Making Multiple Tents For A Group
If you have several kids, you might need more than one tent. Here’s how to plan for group sleepovers:
| Number of Kids | Recommended Tents | Space Needed |
|---|---|---|
| 2-3 | 1 large tent | 6 x 6 ft |
| 4-6 | 2 medium tents | 8 x 8 ft |
| 7+ | Several small tents | 10 x 10 ft or more |
For bigger groups, give each child their own space inside the tent, using pillows or sleeping bags as dividers.
Credit: houstonmom.com
Common Mistakes And How To Avoid Them
Even the best plans can go wrong. Here are two problems many beginners miss:
- Unstable frames: If the tent keeps falling, check that the chairs or sticks are heavy enough. You can add books or weights to the chair seats for extra stability.
- Not enough airflow: Closed tents can get hot quickly. Leave a small opening, or use lightweight sheets instead of heavy blankets.
Another tip: test the tent yourself before the kids use it. Sit inside and move around to check comfort and safety.
Creative Ideas For A Themed Sleepover Tent
Want to take your tent to the next level? Try a theme:
- Camping Adventure: Add pretend campfires, leaf garlands, and nature sounds.
- Princess Palace: Use pink sheets, tiaras, and fairy lights.
- Space Station: Decorate with stars, planets, and astronaut toys.
- Pirate Hideout: Hang up maps, pirate hats, and treasure chests.
Let kids help pick the theme and decorate. This can be just as fun as the sleepover itself.
Frequently Asked Questions
How Big Should A Sleepover Tent Be?
A good size is 3 x 6 feet for one or two kids. For larger groups, add extra width or set up several tents side by side. Always make sure there’s enough space for everyone to lie down comfortably.
What’s The Safest Lighting For A Tent?
Battery-operated fairy lights or LED lanterns are best. Avoid candles, plug-in lamps, or anything with hot bulbs. This keeps the tent safe from fire risk and overheating.
Can I Build A Sleepover Tent Outdoors?
Yes, you can set up a tent outside if the weather is dry and warm. Use waterproof blankets, secure the tent against wind, and check for bugs or uneven ground. Never leave kids unsupervised outdoors.
How Do I Clean Up After The Sleepover?
Take down decorations, fold and wash any used blankets, and check for lost items under chairs and pillows. Air out the room to keep it fresh. If you want tips on deep cleaning, the Good Housekeeping guide is helpful.
What Age Is Best For A Sleepover Tent?
Most kids enjoy sleepover tents between ages 5 and 12. Younger children may need extra supervision, while older kids might prefer more privacy or a different setup.
Building a sleepover tent is about more than just sleep—it’s a way to create magic, laughter, and unforgettable memories right at home. So gather your supplies, invite some friends, and start building your dream tent tonight!